In an earlier post I posted pictures of the growing boxes that I have in my backyard. I thought it might be helpful for others to see how these boxes are used.
I discovered these City Pickers boxes (same idea as EarthBox planters) last Fall. I actually had heard of the idea of a growing box with a water reservoir in late summer, then happened to find some boxes at a local store. I even tried growing some vegetables and herbs in them during the winter, but the amount of sunshine we got in the backyard was only enough for the herbs and the lettuce to grow. But as soon as spring (and more sunny hours) arrived, I set up all the boxes in the backyard. Why are these boxes helpful? If you use the right potting mix and keep the water reservoir full at all times, you can grow a lot of wonderful produce in a small area, and without wasting water.
This is what the box looks like:
Although you can buy the potting mix (NOT potting SOIL) in stores, I prefer to mix my own. I mix 3 parts peat moss, 1 part sand, 1 part perlite and 1/2 part vermiculate to create my potting medium. The important part is NOT to have any mulch or other organic material mixed in it that can rot and therefore take oxygen away from the plants. (On the picture the order shown is Perlite, peat moss, sand and vermiculate.)
Now, that you have your potting mix ready, it’s time to put the box together.
Step 1. Attach the wheels to the bottom, then put the screen and the tube in place.


Step 2. Mix enough water in the potting mix so that it’s moist enough, but not dripping wet. Place some of this moist mixture in the four corners of the box.


Step 3. Now cover the screen with the wet soil. It needs to be “sticky” enough that no parts of the soil fall into the water reservoir below the screen.

Step 4. Keep filling the box with the moist mix until you are about 2″ below the top of the box. Then use 2 cups of dolomite/garden lime, and spread it out evenly on top of the planting mix.


Step 5. Add more mix to reach the top of the box. Then use a small shovel to mix the top 3-4 inches of soil with the garden lime.

Step 6. There are a few different ways of placing plants in the planter, depending on the number of them. The planting guide will give you ideas. I used 3 plants on each long side. I created a 2″ deep trough in the middle of the planter lengthwise, and added 1 cup of fertilizer in it. Important: the fertilizer needs to be dry, granular, and all 3 numbers on it need to be between 5 and 15. I found this kind at the store (NOT slow released):


Step 7. At this point place the cover on the box (you’ll need to cut a hole for the pipe to go through). This cover acts like mulch, preventing the soil from drying out fast.

Step 8. We are now ready to plant in the box. I purchased strawberries from my favorite nursery in Santa Ana, CA (Laguna Hills Nursery). They also sell the right potting mix, if you don’t want to make it yourself.


After deciding where the plants will go, use scissors to cut “X”s into the cover.

Step 9. Reach inside the soil, and create a well large enough for the plant.

Step 10. Place the plant inside, and pull some soil around it. Repeat with each plant.


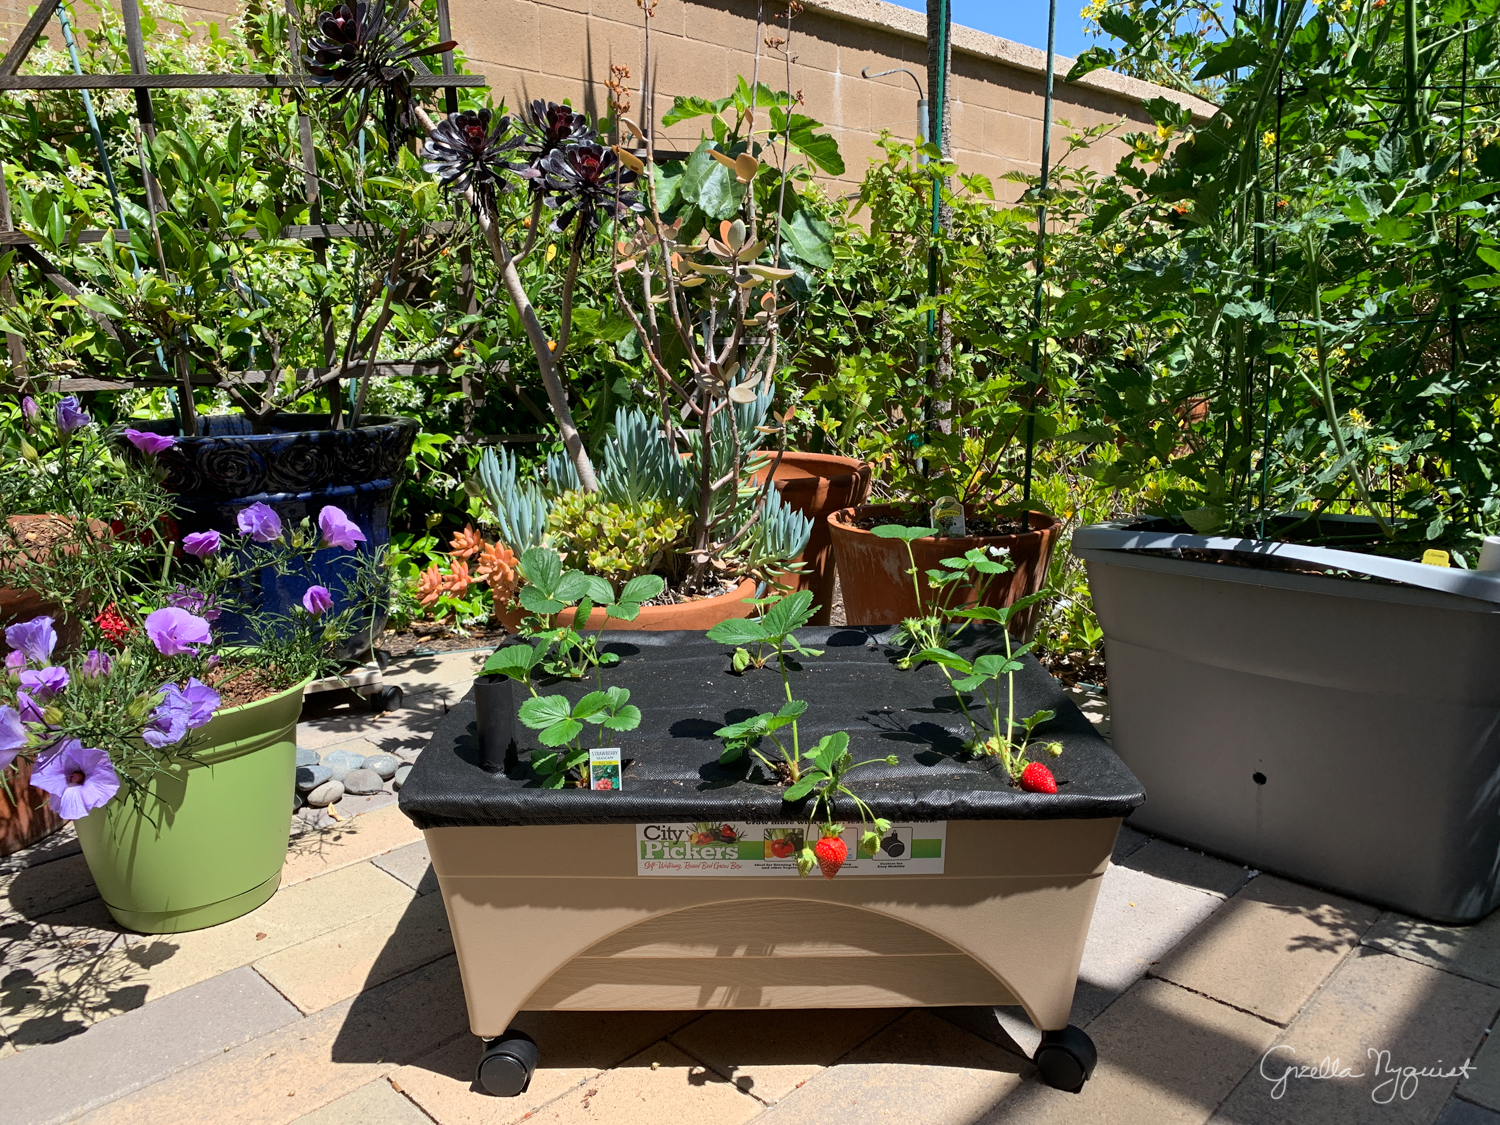
This is what the finished planter box with the plants in it looks like.

Step 11. Pull the box into its permanent location, and water it through the watering pipe.

You’ll know that the reservoir is full when water starts overflowing from the sides. I also like to add just a little bit of water directly to the plants right after planting them.

That’s it, you’ve completed your project! You have a planter box that is water efficient, and hopefully going to bring a nice crop for you during the season. Remember to always keep the reservoir full of water; I fill them up every day. I hope that my directions were clear enough for you to try one or more of these boxes, but if you have questions, I’d be happy to answer them.

You must be logged in to post a comment.